Quick Reference
Concealed Carry Basics

The FN Five-seveN with 5.7×28mm ammunition — a modern concealed-carry option chosen for low recoil and high capacity despite niche caliber availability.
ROG5728 (CC BY-SA 3.0)
| Time & Effort | |
|---|---|
Read Time | 6 min read |
Equipment Needed | |
| |
| Prerequisites | |
| |
Safety | |
| |
Key Takeaways | |
| |
Related Topics | |
Concealed Carry Basics: Your Complete Getting Started Guide
Handbook article
From The Boise Gun Club Handbook
You've got your permit and a gun you trust, but standing in your bedroom trying to figure out where to put this thing so it's hidden and accessible -- that's when you realize the permit class didn't cover the daily reality of carrying.
- The transition: Going from "I have a permit" to "I carry every day" involves dozens of small decisions nobody talks about
- What's different: This isn't range shooting or home defense -- it's about doing this safely and comfortably for 12+ hours straight
- The learning curve: Like driving, the basics matter more than the advanced stuff, and muscle memory beats theory every time
Carrying concealed means solving practical problems your instructor never mentioned. Where does the gun go when you're sitting at a restaurant booth? What happens when your shirt rides up? How do you draw from concealment without looking like you're having a seizure?
Choosing Your Carry Positionedit
Common Carry Positions
Most people start at the 4 o'clock position -- strong side hip, inside the waistband. It's natural to reach for, works with most body types, and conceals better than you'd expect under a regular shirt.
Appendix carry (1 o'clock, front of your body) draws faster but takes getting used to. Some folks swear by it, others can't stand sitting down with a gun pointed at their femoral artery. Your call.
Skip small-of-back carry as a beginner. Hard to draw from, impossible to reholster safely, and if you fall backward onto concrete, you're looking at serious spine damage.
| Position | Pros | Cons | Best For |
|---|---|---|---|
| 4 O'Clock (Strong Side Hip) | Natural draw, good concealment, works with most body types | Slower than appendix, can print when bending | Beginners, larger frames, general carry |
| Appendix (1 O'Clock) | Fastest draw, good concealment when sitting | Uncomfortable for some, muzzle points at body | Experienced carriers, smaller frames |
| Small of Back | Out of the way | Dangerous draw, spine injury risk, hard to reholster | Not recommended for beginners |
Your daily routine matters more than internet arguments about 'optimal' positions.
Body Type Considerations
- Big guys: Strong side hip usually works well -- plenty of real estate to work with
- Smaller frames: Appendix carry often conceals better and doesn't require as much cant angle
- Office workers: Consider how much you sit versus stand, and whether your chair has arms
- Women: Different clothing styles and body shapes change everything -- don't assume male advice applies
Try different positions at home with an unloaded gun before spending money on holsters. What feels right standing might be miserable after an hour of driving.
Getting the Right Holsteredit
Your holster covers the trigger completely, holds the gun securely, and allows a smooth draw.
Everything else is personal preference dressed up as tactical wisdom.
Material Selection
Kydex holsters like Vedder LightTuck or Crossbreed MiniTuck are durable and give you the same draw stroke every time. They're louder to reholster and less comfortable against bare skin.
Leather holsters from Galco or DeSantis feel better but take weeks to break in properly. They also wear out faster and can collapse if the gun isn't in them.
| Material | Examples | Pros | Cons | Price Range |
|---|---|---|---|---|
| Kydex | Vedder LightTuck, Crossbreed MiniTuck | Durable, consistent draw, retains shape | Louder, less comfortable on skin | $60-100 |
| Leather | Galco, DeSantis | Comfortable, quiet, traditional | Break-in period, can collapse, wears out | $70-120 |
| Hybrid | Crossbreed SuperTuck | Comfort of leather, retention of kydex | Bulkier, more expensive | $80-130 |
Inside vs. Outside Waistband
Inside-the-waistband conceals better but means buying pants one size larger. Outside-the-waistband is more comfortable but harder to hide unless you're wearing jackets year-round.
Don't buy soft holsters, Uncle Mike's nylon specials, or anything that doesn't completely cover the trigger guard. That $20 you save isn't worth a negligent discharge into your leg.
Budget Considerations
What this means for you: Plan on spending $60-120 for something that won't get you killed and won't be miserable to wear.
Most people accumulate a drawer full of holsters before finding one they actually like. Start with something well-reviewed from a known manufacturer:
- Covers the trigger completely
- Holds the gun securely
- Allows a smooth draw
- Made by reputable manufacturer
At least you can resell it easier if it doesn't work out.
Learning to Draw Safelyedit
The Four-Step Process
Drawing from concealment is a complex motor skill that requires thousands of repetitions to do right. The permit class demonstration doesn't count as training.
Start with an unloaded gun at home. Practice clearing your cover garment with your support hand while your strong hand gets a firing grip on the gun. This coordination takes time to develop.
The draw has four distinct steps: establish grip, clear the holster straight up, rotate muzzle toward target, extend to shooting position. Each step has to happen in sequence -- skip steps and you'll fumble the gun or catch your shirt.
Reholstering is where most accidents happen. Do it slowly, every single time. Look the gun into the holster. Never rush this part.
Four-step draw sequence from concealment
Practice Requirements
Muscle memory takes 3,000-5,000 repetitions to become automatic -- and that's with perfect practice, not sloppy repetitions that build bad habits.
Dry practice 5-10 minutes daily beats one three-hour session on weekends. Set a phone reminder if you need to. Your brain learns better with frequent, short sessions.
Take a class focused on drawing techniques once you've got the basics down. Having an instructor watch your draw stroke catches problems you won't notice yourself.
Dressing Around Your Gunedit
Concealed means concealed. Printing (showing the gun's outline) or flashing (accidentally exposing it) defeats the whole purpose and can cause legal problems in some states.
Color and Pattern Selection
Dark colors and patterns hide printing. Light blue dress shirts show everything -- the gun, the holster, your spare mag, probably what you had for breakfast.
Your shirts need to be roughly two inches longer than normal to cover the gun when you reach overhead or bend forward.
Test this at home before wearing it out.
Fit and Movement Testing
Normal daily movements will expose your gun if you don't plan for them.
Practice in front of a mirror -- reaching up for something on a high shelf, bending over to tie your shoes, sitting down and standing up. If you can see your gun, so can the cashier at the grocery store.
Have someone you trust do a concealment check from different angles. What looks hidden from the front might be obvious from the side.
Ammunition and Loading Considerationsedit
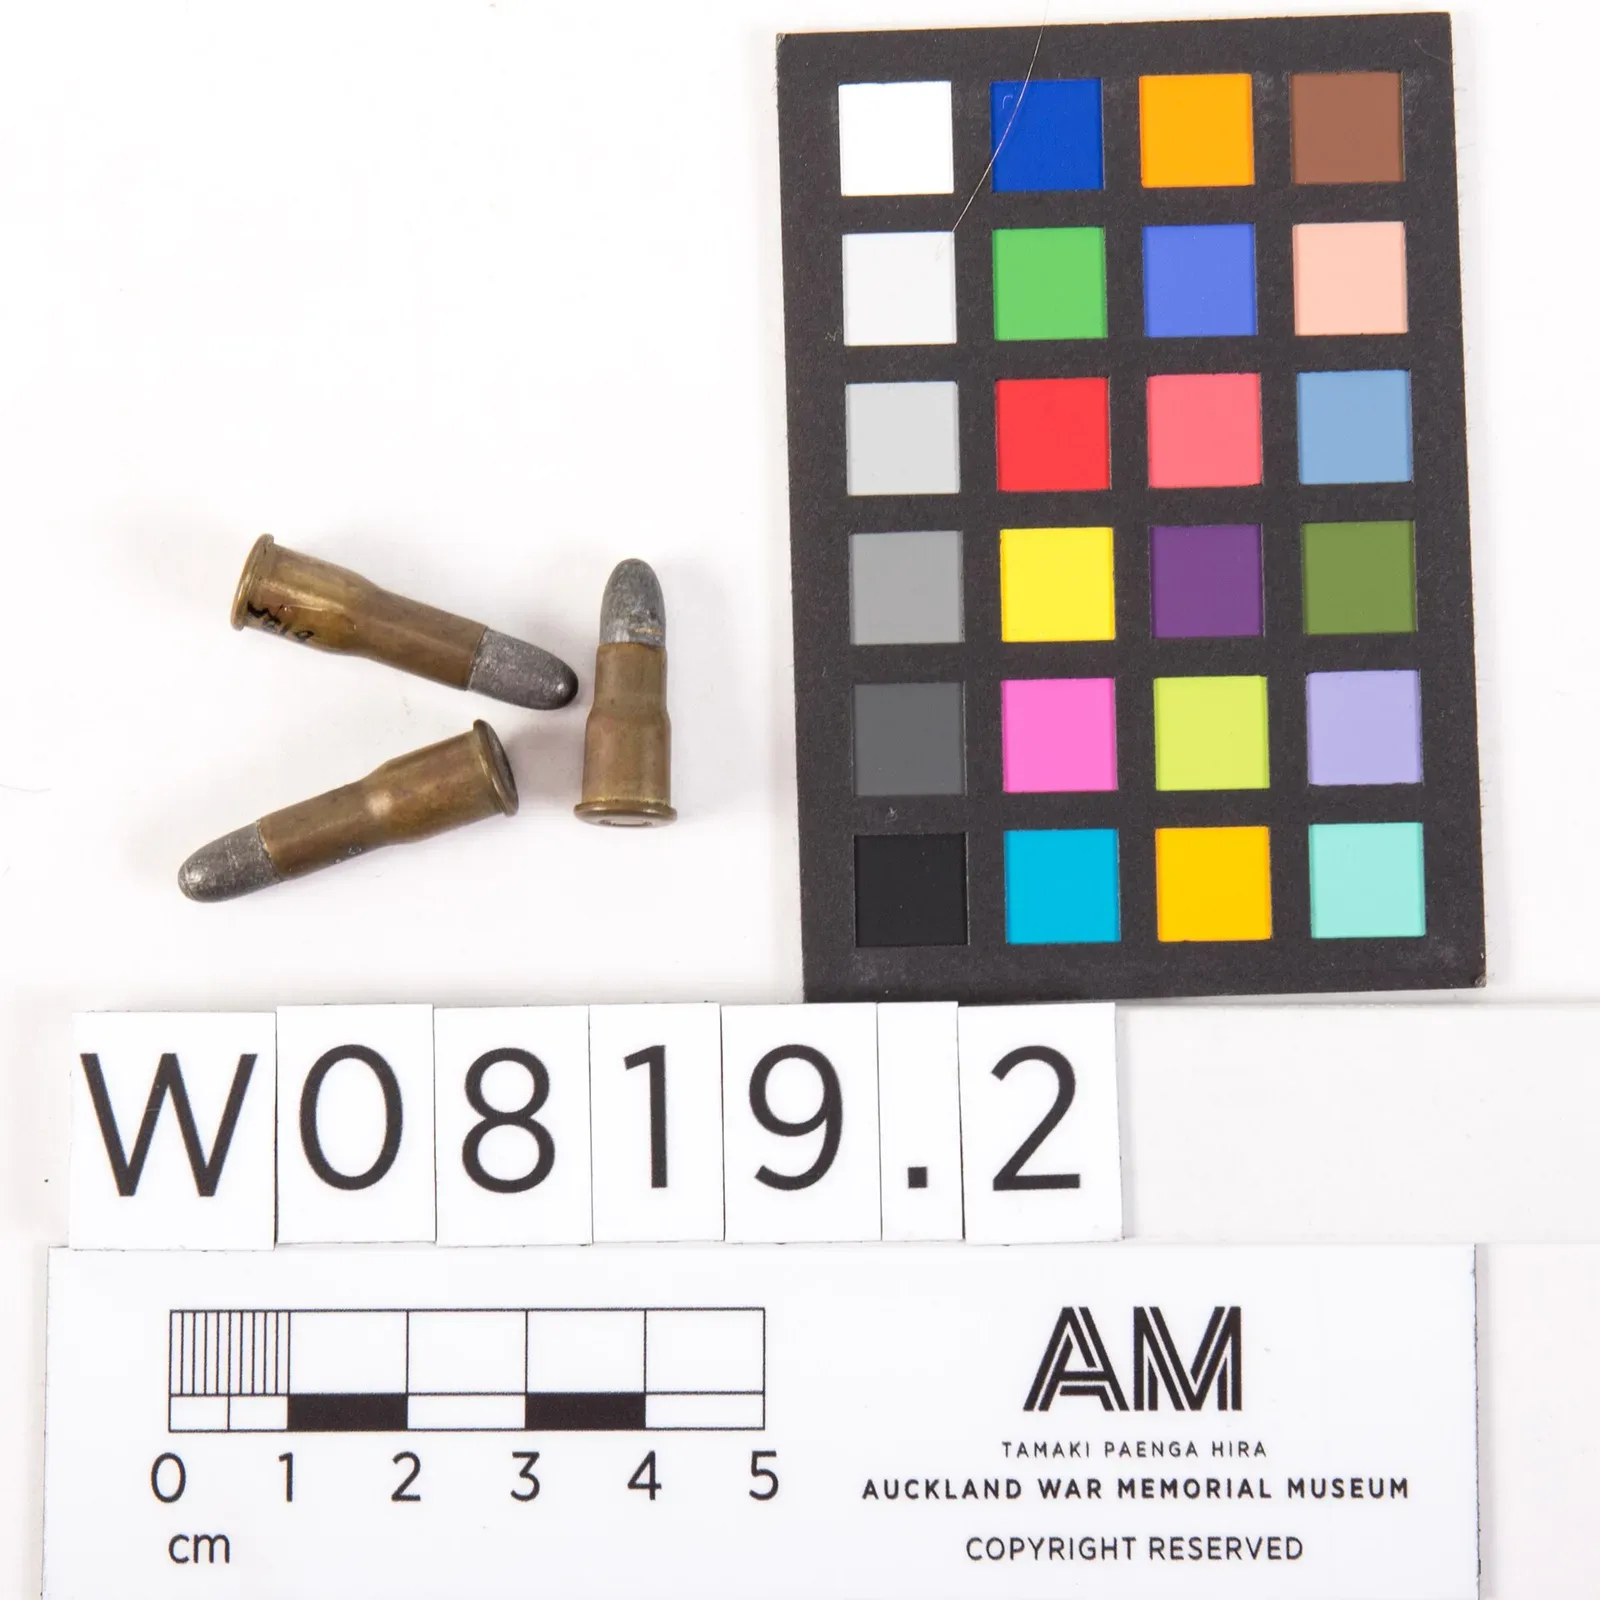
Carry vs. Practice Ammo
Your carry ammo isn't the same as your practice ammo. Ball ammo works fine for the range, but you want hollow points that expand reliably for self-defense.
Federal HST, Speer Gold Dot, and Hornady Critical Defense have proven track records. Buy a few different types, test them in your gun to make sure they feed reliably, then pick one and stick with it.
| Ammunition Type | Purpose | Examples | Key Features |
|---|---|---|---|
| Practice Ammo | Range training | FMJ Ball ammo | Inexpensive, reliable feeding |
| Carry Ammo | Self-defense | Federal HST, Speer Gold Dot, Hornady Critical Defense | Controlled expansion, proven performance |
| Rotation Schedule | Maintenance | Every 6-12 months | Keep ammo fresh, test magazine springs |
Condition 1 Carry
Carry with a round in the chamber if your gun has proper safety features. Most modern striker-fired guns (Glocks, M&Ps, Sigs) are designed for this. Guns with manual thumb safeties obviously work this way too.
Keep your carry ammo fresh. Rotate it every 6-12 months and use the old stuff for practice. Ammo doesn't go bad quickly, but the spring tension in your magazine can weaken over time.
An unloaded gun or one with an empty chamber adds 1-2 seconds to your draw -- time you might not have.
You might not have both hands free to rack the slide. You might be injured. You might be holding a family member behind you with your support hand. Condition 1 (loaded chamber) exists for good reasons.
If you're not comfortable carrying with a loaded chamber, you need more training with your specific gun, not a different loading method.
Building Good Habitsedit
Carrying a gun changes how you move through the world. You avoid confrontations more actively because you can't afford to let situations escalate when you're armed.
Road rage, bar arguments, disputes with neighbors -- these all become off-limits when you're carrying. The presence of a gun changes the stakes of every interaction.
Legal Awareness
Know where you can and can't carry legally. Schools, federal buildings, many state buildings, some private businesses, and anywhere alcohol is served are common prohibited places. Check your state laws.
Check your gun when you put it on each morning. Loaded? Holster in good shape? These become automatic habits, like checking your mirrors before backing out of the driveway.
The goal is carrying so naturally you forget you're doing it, while staying constantly aware of the responsibility.
Long-term Development
Most people feel hyperaware of their gun for the first few weeks. You'll think everyone can see it, that it's obvious, that you look different. This fades as carrying becomes routine.
Keep notes on what works and what doesn't -- which holsters are comfortable, what clothing combinations work, any problems you notice. You're building a personal system that works for your specific situation.
Daily decision-making process for responsible concealed carry
- Phils Custom Handloads(Swartz Creek, MI)
- Gls Guns(Sumner, IA)
- J & L Gunsmithing(Chesapeake, VA)
- Oliver Firearms(Spartanburg, SC)
Loading comments...